1. Setup your account
- Start by signing up for an AWS account.
- Choose the free tier option : you won't be billed for 12 months given you do not exceed certain limits !
- You will have to provide credit card information and a phone number.
2. Setup your user IAM
What is IAM ?
AWS Identity and Access Management (IAM) is a web service that helps you securely control access to AWS resources for your users. You use IAM to control who can use your AWS resources (authentication) and what resources they can use and in what ways (authorization).
Amazon advises you against using your AWS account credentials to access AWS because the root account provides unrestricted access to your AWS resources. The preferred procedure is to for you to create and use an IAM user to whom you grant administrative permissions.
Then you can access AWS with a special URL + IAM user credentials.
To create a new IAM user :
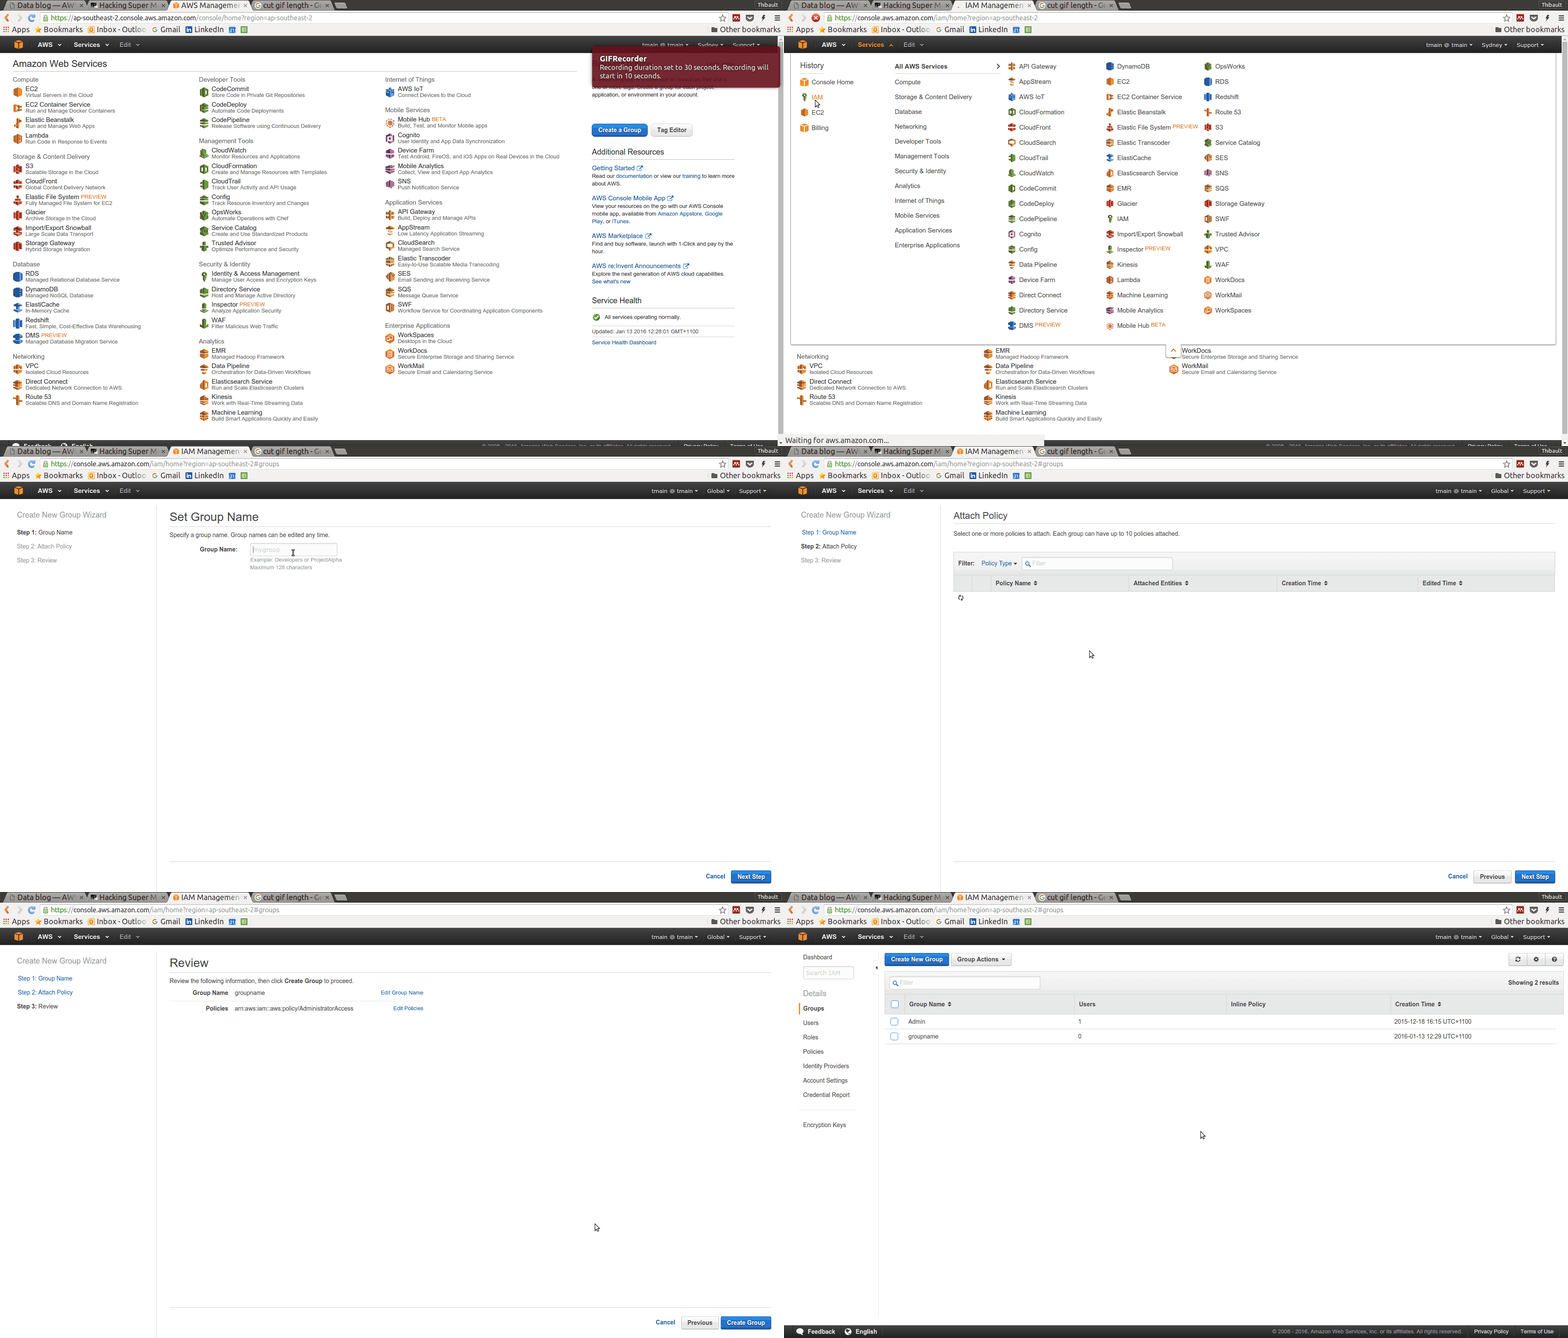
Create a group of administrators
- Open the IAM console
- Groups => Create New Group => Set Administrators as name (for instance) and click Next.
- In the policy list, tick the AdministratorAccess box => Next Step => Create Group.
- Voila !
Instructions as gif below:

Create an IAM user for yourself
- Users => Create New Users => Set you username => Clear the box next to "Generate an access key" => Create.
- In the list of users, click on the newly created user.
- In the Groups tab, => Add User to Groups.
- Tick the checkbox near your group of administrators => Add to Groups.
- In the Security credentials tab => click Manage password => Assign a custom password.
- Confirm password =>Apply.
- Voila !
To sign in as the IAM user :
- Sign out
- Go to the following URL :
https://aws_id.signin.aws.amazon.com/console/- (your AWS ID is a 12 number ID which you can find in your account settings)
- Enter your IAM username and password
- You should now be signed in as :
your_user_name @ your_aws_account_id.
- Instead of using your AWS ID, you can create an alias :
- IAM Dashboard => Customize => Enter your alias.
-
You can now sign in with :
-https://your_alias.signin.aws.amazon.com/console/ -
You should now see (in the IAM Dashboard) that your IAM users sign-in link has indeed been changed to:
-https://your_alias.signin.aws.amazon.com/console
3. Create a Key Pair
AWS uses public-key cryptography to secure the login information for your instance. A Linux instance has no password; you use a key pair to log in to your instance securely. You specify the name of the key pair when you launch your instance, then provide the private key when you log in using SSH.
N.B. You need a key pair per region (if you launch instances in multiple regions).
To create a key pair
- Sign in with your user IAM URL
- Select any region from the navigation bar => Key Pairs => Create Key Pair.
- Enter a name for your key pair (e.g. alias-key-pair-sydney) => Create.
- You automatically download the private key in a PEM file. Save it in a safe place
N.B. This is the only chance to save the file. You will need to give your key pair name + corresponding private key each time you connect to the instance.
If you connect by SSH to your Linux instance, in the directory where you put your private key:
$ chmod 400 your_user_name-key-pair-region_name.pem
to set the permissions of the private key file so that only you can read it.
To connect to your instance using your key pair
To connect to your Linux instance from a computer running Mac or Linux, you'll specify the .pem file to your SSH client with the -i option and the path to your private key.
Open the Amazon EC2 console console
4. Create a security group
Security groups act as a firewall for associated instances, controlling both inbound and outbound traffic at the instance level.
Prerequisite
You will need the public IP address of your computer. Type this command in a terminal to access your public IP address :
curl -s http://checkip.amazonaws.com/
To create a security group with least privilege
- Go to the EC2 dashboard.
- Select Security Groups.
- Create Security Group.
- Give it a name and a description.
- Choose a VPC (the default one has a * symbol).
- On the Inbound tab, add the following access rules :
- HTTP, set Source to anywhere.
- HTTP, set Source to anywhere.
- SSH, set Source to your public IP in CIDR notation.
- Then click on Create .
N.B. If your IP address is 203.0.113.25, then its CIDR notation is 203.0.113.25/32.
What we've done here is allowing web servers to receive all inbound HTTP and HTTPS traffic as well as allowing SSH connection from your computer.
Comments
comments powered by Disqus